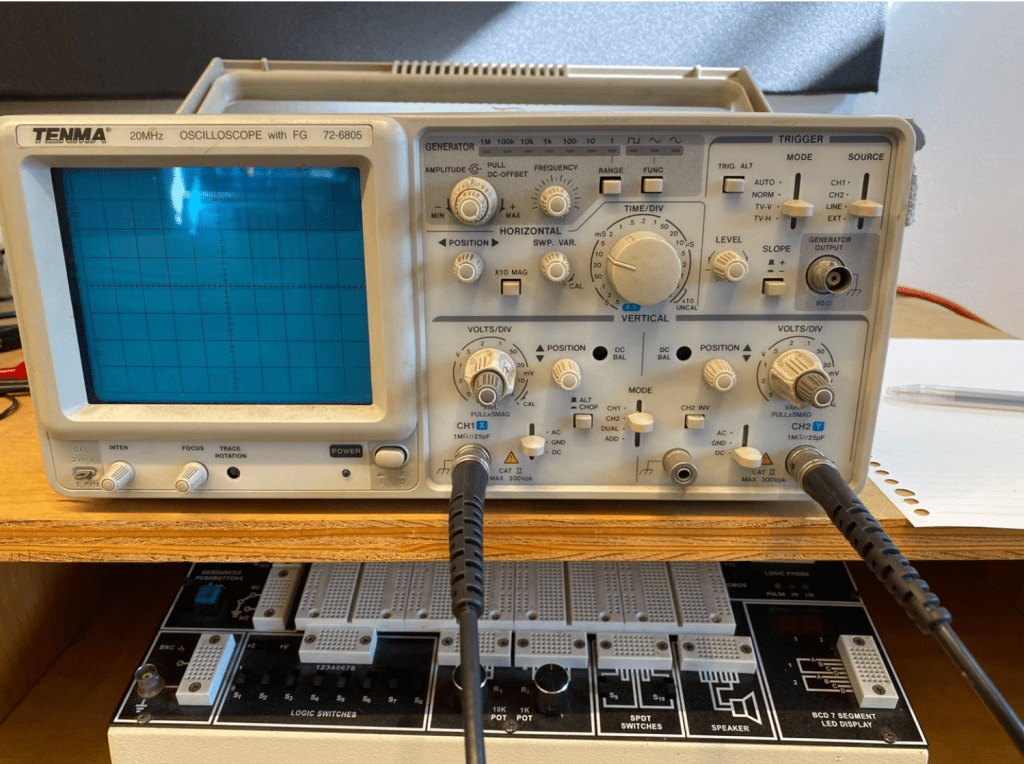
Controls on the oscilloscope.
The first thing you should do when using a oscilloscope is turning it one by pressing the button on the bottom left. There are two channels that are able to be connected to you circuit on the scope. The probs on the left of the scope is the first channel and the one on the right is the second channel. On each channel there is a knob that says voltage division. This lets you change the unit of the voltage division on the scope’s screen where the wave appears. This is the Y- axis of the scope. The X-axis of the scope is the time division knob. This knob lets you view a smaller or larger range of waves. There are also two position knobs on each channel that can shift the mid point of the wave. This lets you view the two channels at the same vertical starting point. While using the scope, the power should always be set to DC power. Lastly, on the top section of the scope there is a trigger section. On this section you are able to make the wave actually show up on the scope. This is usually set to Mode to Auto.
Trouble Shooting
When you want to see the waves hit a certain point of the scope for easier view, you are always able to adjust the volume of the frequency that you are sending in from the computer.
